


Firmware Update Instructions
1
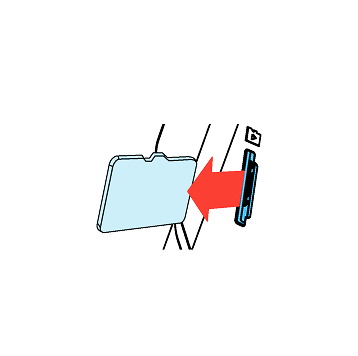
Turn off the unit and remove Micro SD Card. Insert it into your computer.

2
Download the latest firmware.
3
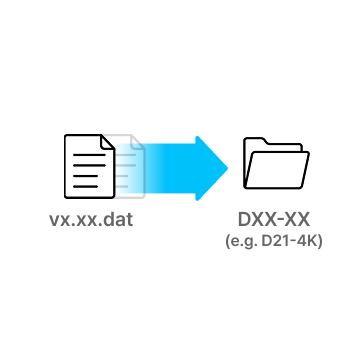
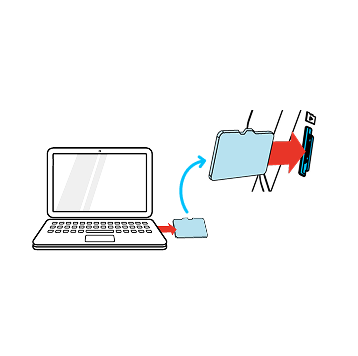
Unzip the firmware file and copy the .DAT file to the root directory of SD Card.
4
Eject Micro SD Card from computer and insert it into the device.
5
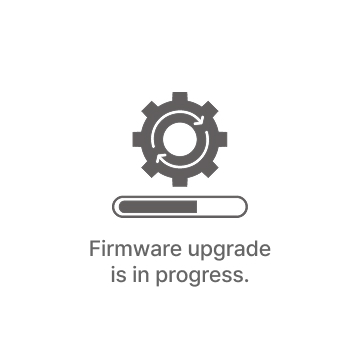
Turn on the device.
The firmware upgrade will start automatically.

6
Once the firmware upgrade is complete, the device will automatically restart. You can then continue using the device.
*Firmware updates are available via the VUEROID App and are processed automatically once the device is connected.
D20-Q2 Plus – Firmware v.1.03 Update Notes
- Added Multi-Language Voice Packs
- Added Smart Low Power Mode
- Added Parking Recording Delay Mode (No Delay/ 90 Sec/ 3 Min)
- Added Auto REC Off Zone (Geofence-Based)
- Improved HDR Timer
- Improved speaker volume level
- Added Support for Automatic SD Card Formatting
Q. How to connect the dashcam Wi-Fi?
- Search “Vueroid Dashcam” on the App Store (iPhone), Play Store (Android) then install it.
- Turn on the “Wi-Fi” button on the dashcam. Then it shows a SSID (VUEROID_DXX_XX_XXXXXX) on the list of Wi-Fi network.
- Tap on ” OK” once the pop-up screen is shown and it says “Connect to device.”
- You’ll be greeted by a SSID in the form of VUEROID_DXX_XX_XXXXXX in a given Wi-Fi network listing.
- Tap on that SSID and type the password (Default PW is “12345678”)
Q. How to change the Wi-Fi password?
- Enter the setting menu via either Wi-Fi App or dashcam’s LCD setting menu.
- Enter “System” then click on “Change Wi-Fi Password.” Then the dashcam will begin the formatting.
- Enter the current password then enter the new password to reset.
D20 Unboxing
Vueroid Caught Lotte World Tower
Vueroid Caught Dongdaemoon Design Plaza (DDP)
Vueroid Caught Jongnotower and bosingak
VUEROID Dashcam : App Tutorial